
The arcade pedestal needs some artwork designed that will serve a couple purposes. First, artwork for the control panel specifically will give detail about the controls that are available. Second, artwork for both the control panel and cabinet should make a visual impact by having a common design and harnessing a cohesive theme throughout.
In the previous post, we used a vendor to CNC cut a number of our plywood pieces to exact specifications so that controls will fit perfectly within them. This also allows us to achieve some eye-pleasing curves in the wood.
Inspiration
When I would think back to arcades in my early years, one of the very first games that always came to mind was the 1989 Teenage Mutant Ninja Turtles arcade game by Konami. I loved playing this game in arcades, and spent a good number of quarters on it.
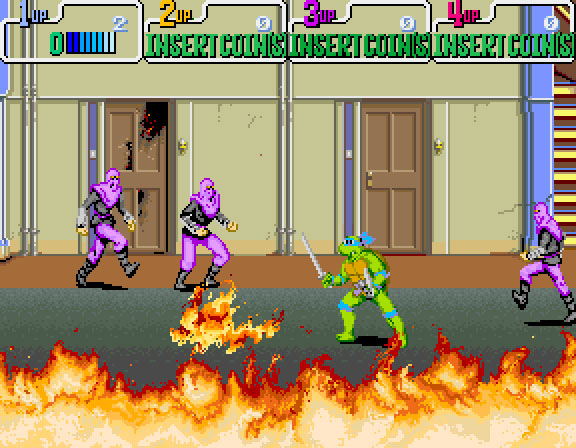
As a young teenager, I was a big TMNT fan. I watched the cartoon and had a number of TMNT toys, some of which I still have tucked away in a box in the basement.
What better way to pay tribute to one of my fondest childhood memories than to make TMNT the theme of my arcade pedestal?
Selecting a Vendor
Through my prior work with The Maker Lab to do the CNC cutting for the plywood boards, I learned that they also had a top-end vinyl graphics printer that could print at nearly 900 DPI (dots per inch). I decided to use them for my graphics printing needs as well.
Due to the incredible printer resolution, all the artwork I designed needed to be in vector format (ideal), or at least upscaled enough to the point that nothing looked pixelated.
Control Panel
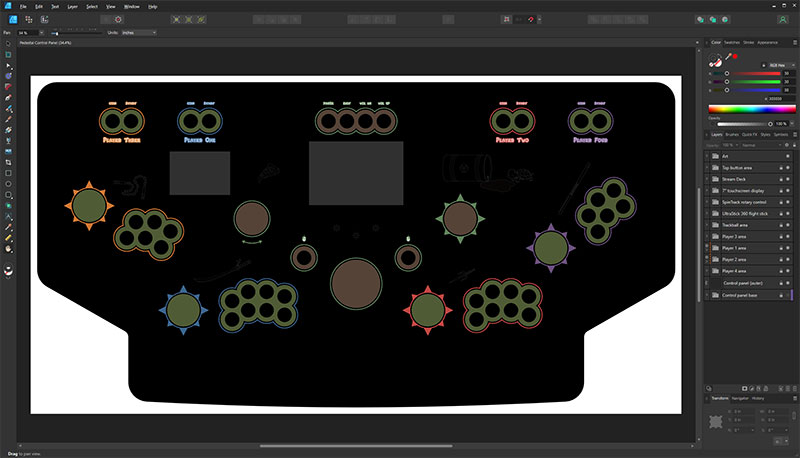
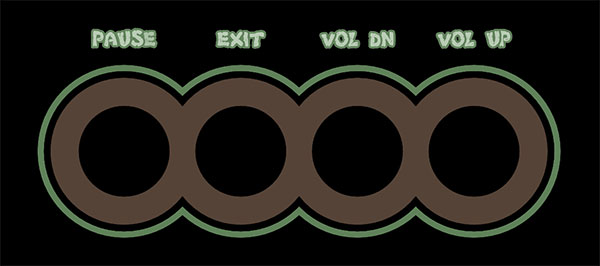
The top of the control panel will have a lot of controls on it, many of which will light up via LEDs. Therefore, I chose to keep the control panel artwork fairly simplistic. The plan was to use a plain black background, surround most controls with bubbles of various colors, label some controls like admin buttons, and add some minor decorations here and there.
It was time to use Affinity Designer again to reopen the control panel design I created in a previous post. This time, I added a new artwork layer with a black background and started adding decorations.
Player Controls
I created green bubbles around each of the four players’ various controls. I then assigned a color to each player number, where the color corresponded to a turtle’s primary color. Player 1 was blue for Leonardo, player 2 was red for Raphael, player 3 was orange for Michelangelo, and player 4 was purple for Donatello. These colors were added as outlines around the player controls’ green bubbles.
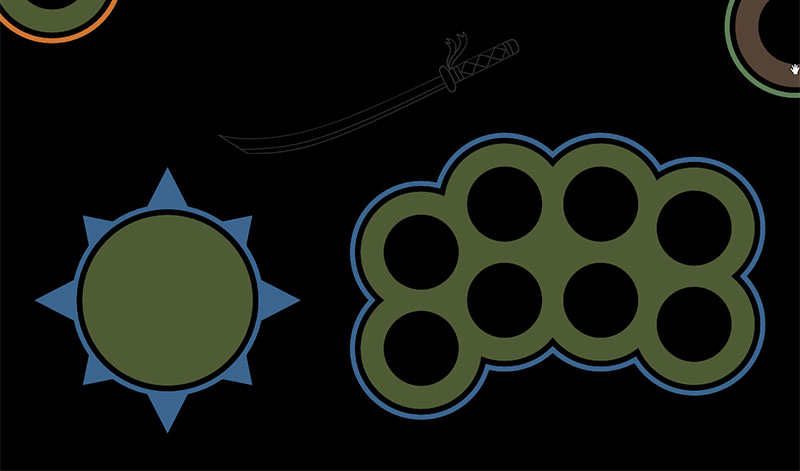
For decoration, I added line art weapons above each player’s joystick/button area. In the screenshot above, a katana sword was added for Leonardo. Appropriate weapons were added for the other three players too.
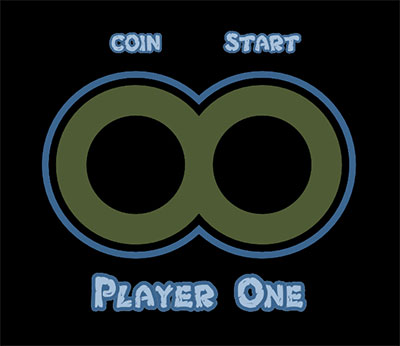
The Coin and Start buttons for each player continued to carry over the same border color, and had button descriptions using a TNMT logo-like font.
Admin Buttons
The admin buttons had a similar look, but used a more generic brown color as the background, and a green color as the outline.
Trackball Area
The trackball area used the same neutral colors and included a couple mouse button glyphs above the left and right mouse buttons.
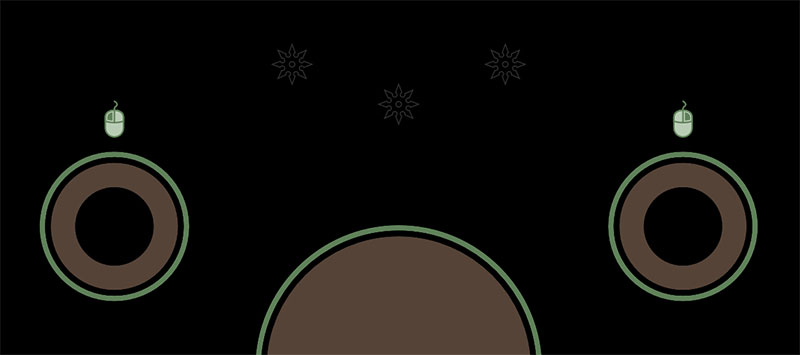
Some throwing star line art was added above the trackball for fun.
Other Decorations
I wanted to add more line art where there was open space. I put together artwork for a baby turtle approaching a radioactive barrel leaking waste.

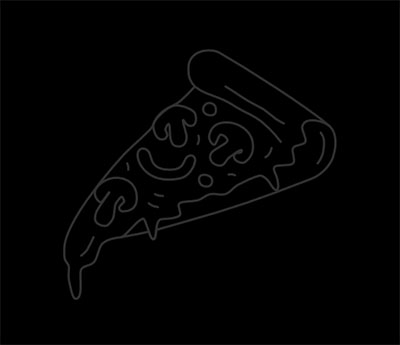
And another smaller line art of the turtles’ favorite food: pizza!
Cabinet
While the art design of the control panel was kept relatively simple and subtle due to the number of controls that will be on it, the cabinet art was a different story.
For the cabinet, the goal was to showcase each of the four turtles and put their likenesses underneath their related setup on the control panel. This meant having Michelangelo on the left side, Leonardo and Raphael share the front, and Donatello on the right side.

A custom separator vector pattern was designed with some subtle throwing star glyphs to separate Leonardo and Raphael on the front panel’s art.
I had to ensure the turtle characters didn’t go too high in the cabinet art, as the control panel box’s overhang will block the top third of the artwork.
Vinyl Printing
Once all the graphics were prepared, I contacted The Maker Lab to print them. After they were ready, I went to pick them up.
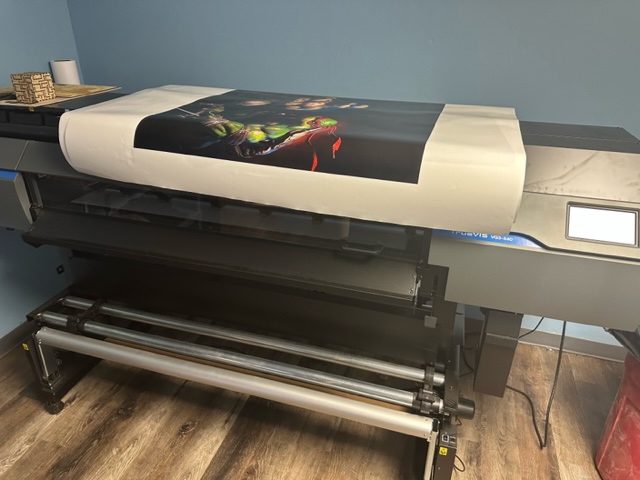
The printer was enormous and was easily able to handle my job.
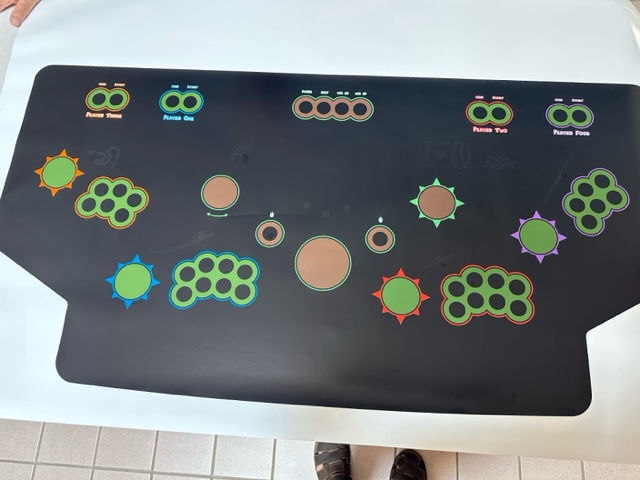
Above is a screenshot of the printed control panel vinyl art, which if you recall, was over 4’ x 2’ in size.
Summary
The artwork for the pedestal came together really nicely. It has the TMNT theme I wanted, while still not being overly gaudy and busy. Best of all, the printed vinyl looks amazing and I can’t wait to see how it looks once it’s all assembled.
In the next post, we will route slots for T-molding on several boards, using a special bit.