Designing a control panel involves doing product research and selecting the controls to be included, making sure your control panel wood board has enough surface area to support the controls, and then using a vector design application to plot the overall layout.
The previous post examined several possible joystick and button layouts. I ended up selecting the Clustered Arcade Layout design from Slagcoin as my choice for the arcade pedestal. We’ll use that information after selecting controls to work on the control panel layout.
Affinity Designer
When planning a control panel, and even other wood boards as we’ll see in future posts, you really do need a solid vector design application. My personal favorite application of this type is named Affinity Designer by Serif. This application is amazing and can do pretty much everything Adobe Illustrator can do, at least for our arcade-building needs, but without the enormous price tag. I’ve used this application for many years now and can wholeheartedly recommend it.
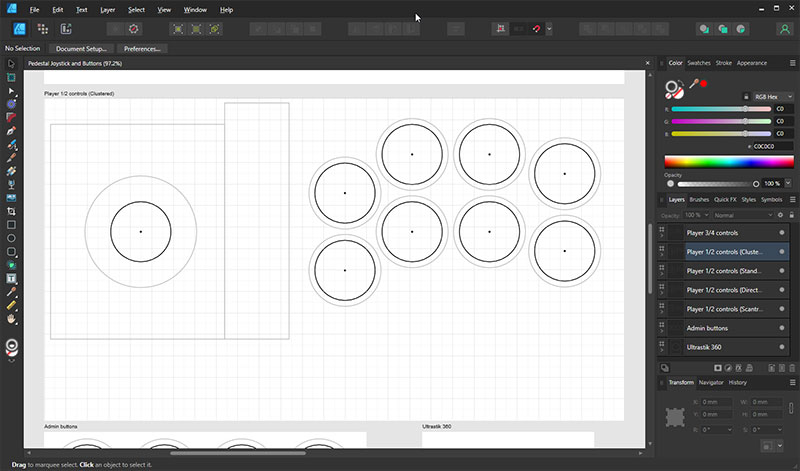
Affinity Designer
Selecting the Control Panel Size
The control panel size is determined by how many players you wish to support, what kinds of controls you’ll have on it, and the desired density of controls. A traditional full-size arcade cabinet also may limit the available width for a control panel.
My pedestal project is going all-out and I’m going cram a lot of tech into this thing, but I also want to make sure controls have a decent amount of spacing and people aren’t too cramped while playing.
Since this is a four player pedestal with additional controls as well, I’m going to start with a 4’ x 2’ design and will see how it turns out.
Contours
The outer corners of control panels have to be somewhat rounded so that when T-molding is later applied, it can bend properly along the corner radius to produce a smooth curve.
Unlike a traditional full-size arcade cabinet, the entire control panel wood piece is exposed on a pedestal, so all corners need rounding. I am using a 1” radius on all corners of the outer control panel shape.

The outer shape of the control panel
I’m also including a 1/2” bend on the very front of the control panel to give it a little character. This prevents it from consisting solely of straight lines on long edges, and makes it a bit more inviting.
Primary Controls
The large 4’ x 2’ size of the arcade pedestal’s control panel affords a lot of space to include many controls. Let’s plan out what we’re going to include.
I’ve done a lot of research on controls and found Ultimarc controls are very highly regarded. They offer an enormous product line that covers everything from joysticks, buttons, and trackballs to the actual control interfaces that wire into the PC. I will be using Ultimarc products for a lot of my components.
Player Joysticks and Buttons
Four players will be supported, with the players 1 and 2 having a joystick and eight control buttons, and players 3 and 4 having a joystick and six control buttons. Most four player arcade games don’t even use four buttons, but some newer PC-based four player games use more. I have the space so it can’t hurt to future proof things a bit.
Joysticks
The players 1 and 2 joysticks will be Ultimarc ServoStiks, which have a motor-driven restrictor plate that switches between 4-way and 8-way based on the game being played. 4-way hardware restriction is important for classic games like Pac-Man.
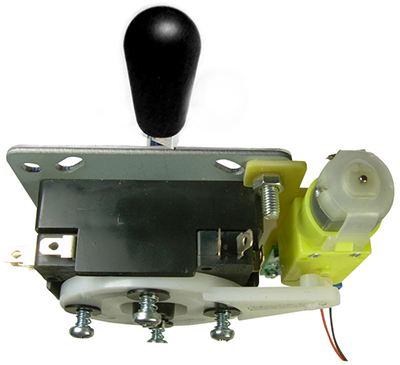
An underside view of the Ultimarc ServoStik
The players 3 and 4 joysticks will be Ultimarc J-Stiks, which are the same joysticks used in the ServoStik product. The difference is that they don’t include a servo motor attachment. These joysticks will remain in 8-way mode.
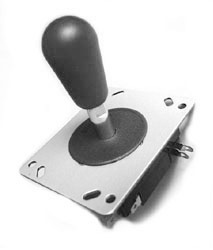
The Ultimarc J-Stik
I will also swap in Ultimarc’s RGB illuminated handles on all four of these joysticks so that they can be lit up.
Here’s a quick note on joystick orientation. When actually playing games, people naturally want to move joysticks towards the screen when trying to move in an upward direction. Therefore player joysticks should be oriented straight up and down instead of angled, which really comes into play for the players 3 and 4 joysticks.
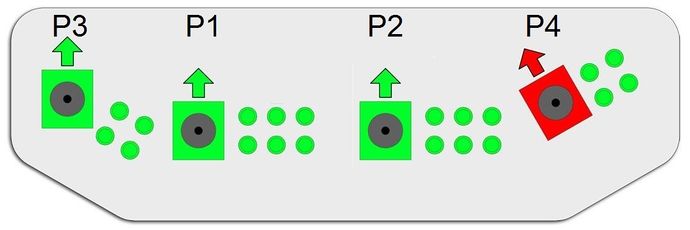
Straight (P1-P3) vs. angled (P4) sticks
Buttons
For buttons, I’m going to use the Ultimarc GolfLeaf RGB Illuminated Pushbuttons. They have good contacts that don’t make too much of a clicky sound, and fully illuminate.
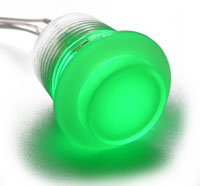
Ultimarc GolfLeaf RGB Illuminated Pushbutton
Admin Buttons
In addition to the sets of player control buttons, each player will have Coin and Start buttons at the top of the control panel. These will be used to mimic the functionality on arcade games for inserting a coin and starting a game.
There will also be four buttons in the top center of the control panel that are used for Pause, Exit, Volume Down, and Volume Up.
Trackball
In the middle of the control panel will be a trackball that can be used for trackball games like Golden Tee, or in general as a mouse. I’ll put two buttons surrounding the trackball to act as left and right mouse buttons.
The trackball will be a Ultimarc U-Trak FlushMount Arcade Trackball that is translucent and illuminated by RGB lights.
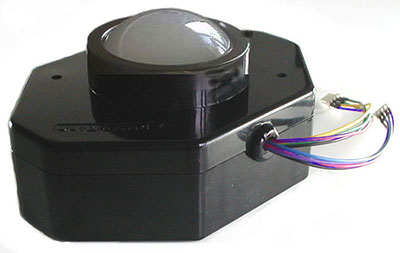
Ultimarc trackball with Pearl translucent ball
This trackball is designed to be placed in 3/4” wood and will flush mount at that depth.
Spinner and Flight Stick
There are a handful of games where a spinner (for Arkanoid) or flight stick might be handy. I will mount the spinner and flight stick a little higher up on the control panel, above some of the player controls.
The spinner will be the Ultimarc SpinTrak Rotary Control with a large black/silver knob, and a large fly-weight.
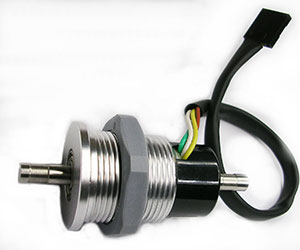
Ultimarc SpinTrak Rotary Control
The Ultimarc UltraStik 360FS Flight Stick Version is what I will use for a flight stick. It has analog sensitivity and a couple trigger buttons built in.
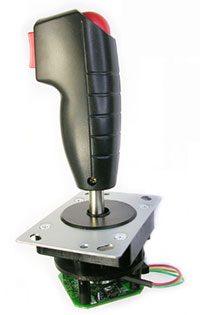
Ultimarc UltraStik 360FS flight stick
Other Electronics
I really wanted to go over the top with the design of this arcade pedestal, and have been inspired by my arcade building hero Daniel Spies. Why not add some extra electronics not normally found on an arcade machine?
Stream Deck
We already have a kazillion buttons going into this control panel, but you never know when you might need more. 😂
The Elgato Stream Deck is a popular device for content creators because it allows its 15 buttons to display custom glyphs and perform nearly any task imaginable. I’ll place one of these in the top portion of the control panel so that extended functionality for certain emulators or system functions like Mute Sound or Shutdown can live there. It also can be used to quickly launch any utility apps I have.
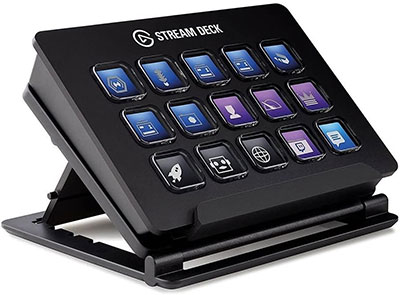
Elgato Stream Deck (original version)
Note that the original version seen above is the version I purchased instead of the Stream Deck MK.2 that has replaced it. This original version had a small lip on the top plastic piece that will sit nicely on top of the hole I cut into the control panel, covering up any gaps. The MK.2 version would not work as well for my purposes due to its updated design without such a lip.
Touchscreen Display
We can’t stop there though. Let’s also throw in a 7” display in the control. We can use this to display graphics for the game currently being played, or to be where a CadeBoost utility app we’d like to create will live. More on that in the future!
If we are potentially putting an interactive utility app there in the future, then we can’t just have a basic display. We need this display to be a touchscreen.
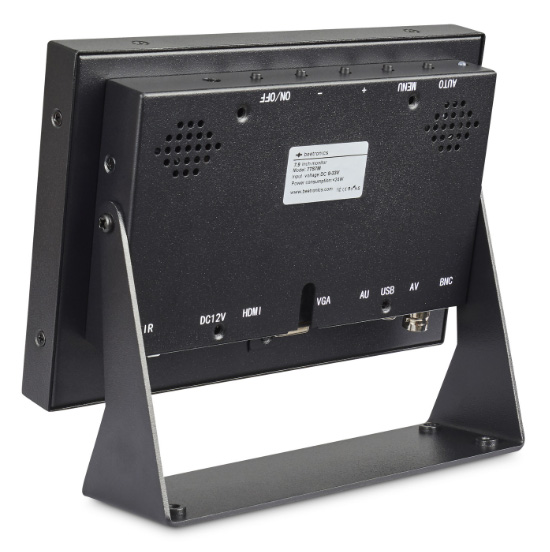
Beetronics 7” Touchscreen Display
After a lot of looking around, I settled on purchasing the Beetronics 7” Touchscreen Metal display. This is a professional quality touchscreen display with perfect touch interaction, vivid colors, and a relatively high resolution. It’s not cheap, but you get what you pay for.
Combining Everything Together
Now that we know everything that will go on the control panel, back in Affinity Designer we mock out different layouts using measurements we can get for each control off of web sites. This is a process that can take some time, and it’s important to take detailed notes on the various products that will be used.
I not only included the “holes” that will be cut in the control panel wood, but also the boxes indicating the rough dimensions of how much space the various mounts and electronics will take underneath the control panel as well. This will give you a heads up if devices end up being too close together.
The Test Printout
Once you combine everything with dimensions that you feel are right, you want to print out the design at life-size scale to give it a test run.
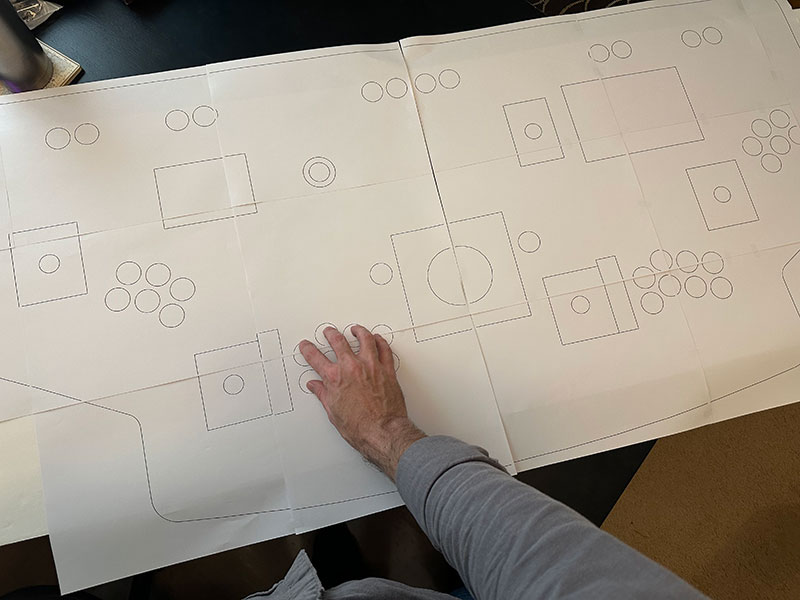
4’ x 2’ test printout
You truly don’t appreciate how big this thing will be until you print it out at its real size. I mounted many sheets of paper on some poster board backing and put it on a desk top to play around and see what I liked and didn’t like about it. This is where you want to pretend you are playing games so you can determine if the controls are easy enough to reach, and work with.
Feedback on the Layout
Overall I liked my general layout. It was spacious enough and the players 1-4 controls were in fairly good locations. But I wasn’t totally happy with the placement of some of the devices like the trackball, spinner, flight stick, and displays. For instance, the flight stick ended up being directly above the player 2 joystick, which would make it impossible to use. Oops!
At this point, I went on Reddit’s r/cade subreddit and asked for some feedback. I received a lot of different opinions and went back to tweaking things for several days until I settled on a final design.
Summary
The final design moved the 7” touchscreen to the middle of the control panel, right under the admin buttons. The spinner and flight stick were moved down, and offset a bit from their prior locations. The trackball area was also adjusted.
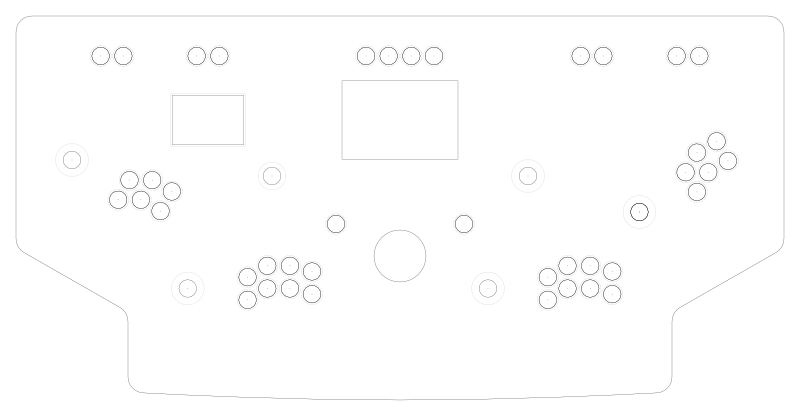
The final control panel design (with underside cutouts hidden)
The final design above shows light gray lines where button caps, joystick dust covers, etc. cover holes, which are indicated by black shapes.
In the next post, we’ll dive into designing the rest of the pedestal that will support the control panel box and house the PC.
