The arcade pedestal is primarily made of wood boards. Since a number of these wood boards have very specific sizes that must be exact, have rounded corners, and/or have cutouts or routings for electrical components, use of a CNC machine vendor is my only option for cutting the intricate boards properly. For other wood boards that are rectangular and don’t require CNC cutting, we will cut those ourselves.
The previous post built a 3-D representation of the pedestal in SketchUp. It allows me to see the desired finished result and makes it easy to measure any wood board. The measurement capability will be used later on in this post.
Selecting a Wood Material
In studying up on wood materials, I watched a lot of arcade cabinet builder YouTube videos, read arcade cabinet building articles, at looked at web sites of professional arcade cabinet builders. It can be confusing since people make arcade cabinets out of nearly anything, but you do tend to see certain themes appear with the more research you do.
The three main options I discovered were:
- Melamine - Particle-board with a thin plastic layer laminated on both sides.
- MDF - Medium density fiberboard.
- MDO - Medium density overlay plywood.
Melamine
Melamine has these characteristics:
- Easy to cut/route and has a nice finish.
- Difficult to repair and re-finish.
- Edges of fresh-cut laminate are very sharp.
- Screws don’t always bite into the material.
This material looks great if you have easy cuts. But if you make any mistakes, they will be near impossible to repair, and the use of a particle board interior doesn’t sound appealing.
MDF
MDF is widely used across Europe for making cabinets. It has these characteristics:
- Can absorb moisture, but once sealed, MDF is an excellent option for arcade cabinets.
- Cuts very easily and allows for complex shapes.
- Heaviest weight.
- Creates a lot of dust and uses formaldehyde in its construction.
- Must wear full safety gear when working with it and cuts should be made outside to avoid a dust cloud inside.
- Edges dent easily.
This material is certainly an option, and many people do use it since it’s reasonably priced. The weight and massive creation of dust are what scare me though.
MDO
MDO plywood is a high-quality thermosetting resin-impregnated fiber surface bonded to one or both sides under heat and pressure to create an exterior-grade plywood panel. It has these characteristics:
- Special veneer provides a smooth surface that is ideal for painting.
- Uses a waterproof resin, and is more moisture resistant than MDF.
- More versatile and cuts better than MDF.
- Is generally a higher quality wood than MDF and will hold screws better.
- Can be a little more expensive than other options.
After examining the options, it was clear that MDO plywood was the way to go for this project.
Designing the Rough Cuts
Before you go to purchase any wood sheets, you need to determine how many you need. This is where we return to Affinity Designer and mock up a couple 4’ x 8’ plywood sheets. Then we start building rectangular shapes that are roughly the dimensions of each wood piece in the SketchUp model from the previous post. It helps to label each rectangle so that you know what it represents.
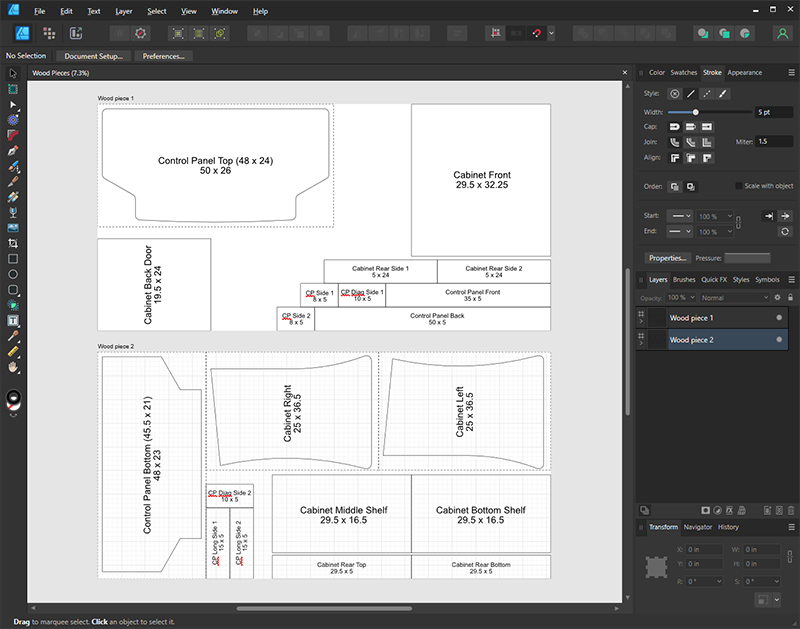
It’s important to give yourself at least an inch or two of space around all wood pieces that must be cut by the CNC machine. Be sure to design all your rectangular shapes intended for CNC cutting so that they factor in this additional margin.
Once all your shapes are arranged on the mockup wood sheets, you know how many sheets you need to purchase, and you have a game plan on how to cut them.
Purchasing the Wood Material
In my case, I needed two 3/4” MDO plywood sheets. I found that the local Menards had what I needed for about $100 a sheet, which was this quality Roseburg MDO product.
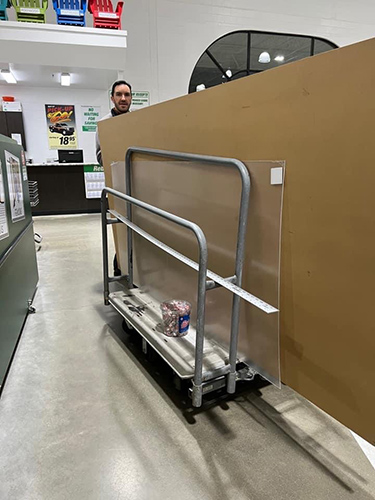
My wife and I went to the store, loaded it up in a cart, paid for the sheets and took them out to the SUV. What I didn’t think about is how large a 4’ x 8’ plywood sheet actually is. Yes we have a pretty big SUV, but even so, we couldn’t fit the sheets in the back and they hung out several inches. It was too late in the evening to get help from anyone with a truck. Oops!
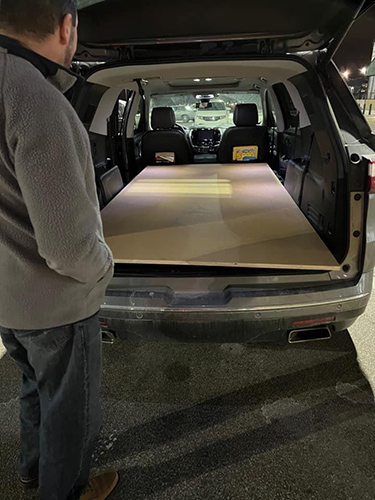
Luckily, after some angling of the sheets, we were able to wedge it in there so the front of the sheets hung over the front seat headrests. As long as we ducked, we could drive them home with the tailgate closed. Phew, crisis averted!
Note to self… next time when purchasing something that is 8’ long, find someone with a minivan or truck to take you.
Cutting the Wood Material
After getting the plywood sheets into the basement, it was time to start cutting pieces. I called up my dad to come help, and we taught my son about how to use various saws. We set up a couple tables and clamped the plywood sheets down to cut the boards into desired sizes.
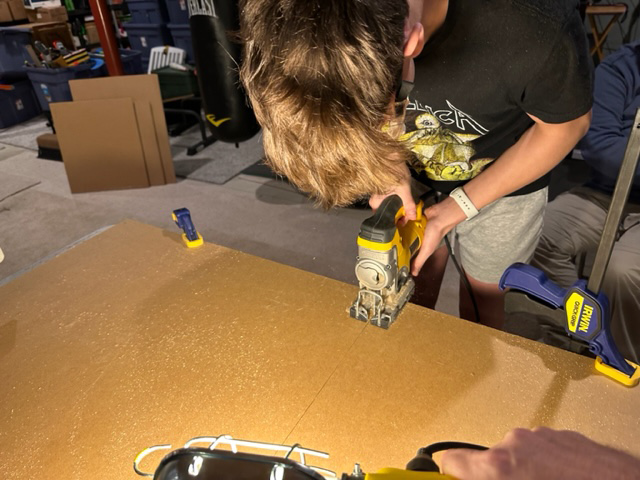
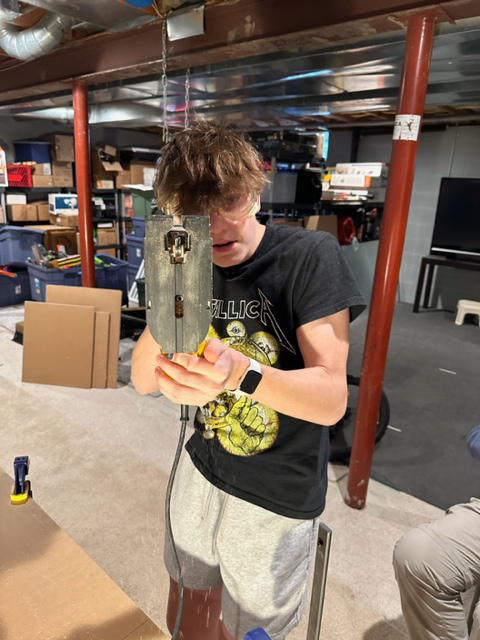
When cutting some of the pieces that will be CNC cut later, we used a jig saw. Since they will be cut down further later, they don’t need to have perfectly straight edges. A circular saw would have worked fine for this too.
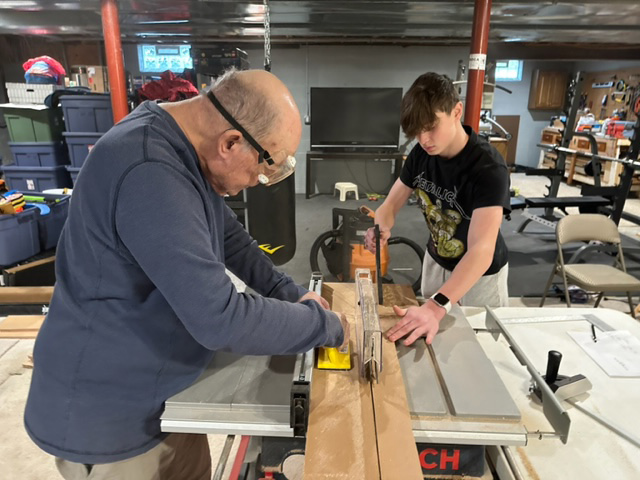
Once the sheets were cut down a bit and smaller, when we got to the point where pieces needed to be cut that had straight edges, we used a table saw. And for thin boards, a miter saw did the job.
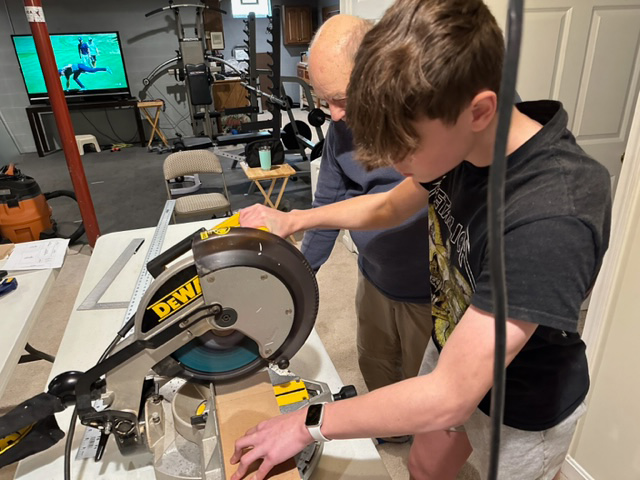
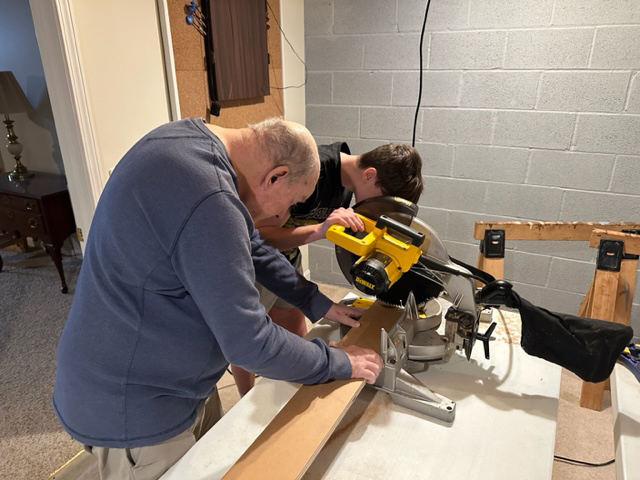
After each piece was cut, we labeled each board with pencil and put the boards intended for CNC cutting aside in a separate pile.
Summary
This was an exciting first real step in seeing the project come alive. We planned out how much wood we needed, how the plywood would be cut into boards of various sizes, and prepared to take a set of boards to the local CNC machine shop.

In the next post, we’ll have the CNC machine shop do the intricate cuts on some boards.
